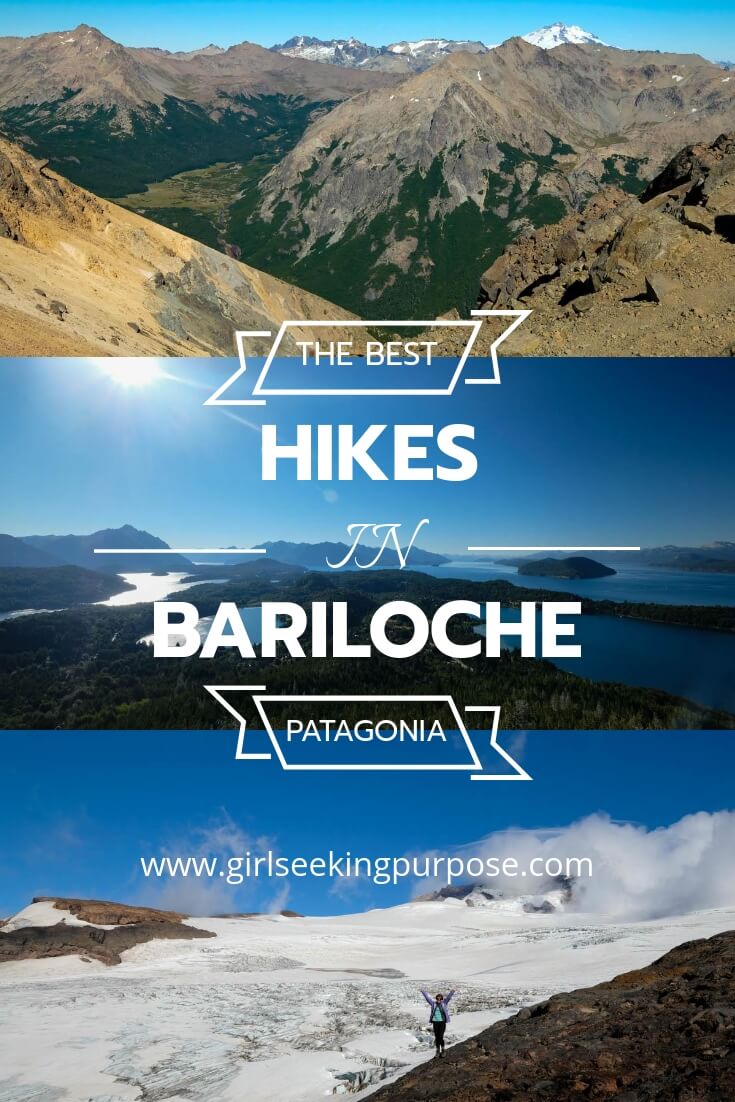
Mountains, glaciers, lakes and so much more in Bariloche, Patagonia.
Bariloche captured my heart.
It was my first stop on my Patagonian adventure. I had only planned to be in Bariloche for around three nights initially and ended up in Bariloche for a total of eight nights! The town itself has such a relaxing and cool vibe. The surrounding hiking options also contain some of the most incredible views you will get in all of Patagonia. If this place isn’t on your Patagonia list yet, write it down now!

I couldn’t help myself, SNOW!
This post contains affiliate links, which means that if you follow a link for a product or service and make a purchase, I receive a small payment at no extra cost to you. I only recommend products or services that I have used, trust and would honestly recommend to my readers. Building affiliate links into my site will help keep my blog going and continue to allow me to produce the content that I hope you are all enjoying reading.
Refugio Otto Meiling and Cerro Tronador
2 day trek, 36km return, Nahuel Huapi National Park, near Bariloche
My favourite hike in the Bariloche area was a two hour bus ride away from Bariloche at Cerro Tronador, in the Andes. It is on the border of Chile and Argentina and is absolutely mind blowing.
This hike was the first time I saw snow in Patagonia. It was also my first glacier sighting in Patagonia. Not only did we get to see a hanging glacier, but we were able to hike up to it and literally stand right next to it. I still can’t believe my eyes when I look back on the photos. I highly recommend adding this hike to your list.

Trust me, you are going to want to stand next to this absolutely stunning glacier.
Getting There and Away
Cerro Tronador is a two hour bus ride away from Bariloche.
Return bus tickets can be purchased from Club Andino in the Bariloche city centre. The price for these bus tickets has gone up in recent years and was $750 ARS ($48 AUD) return when I bought mine. Unfortunately, this was the only option for transportation at the time. You may be able to hire a car if you have multiple people; however, there were no hire cars available when we wanted to go so book your hire car in advance if you would prefer that option.
The bus leaves daily at 8.30am, arriving at Cerro Tronador at 10.30am. If you are only doing the overnight hike, then you can book your return ticket for the following day.
It collects you the next day at 5.00pm from where it drops you off. The bus arrives back in Bariloche at 7.00pm. You will need to book your bus ticket at least one day in advance to ensure you have a seat on the bus on your preferred day.
The Hike
18km each way, approximately 5-7 hours to the Refugio and 3-4 hours back down.
The initial sections of the trail are mainly through the forest and on dirt trails. There is a fairly steep section in the middle of the hike with a large number of switch backs that made the hike a little more difficult. If you have a full pack for the overnight hike like I did then this section will be even more difficult. Once you get a little higher up and past the steep section you can start to see the glacier poke it’s way through the trees.
The struggle up the steep climb suddenly becomes extremely worth it.

Not a bad backdrop for a day out and about.
Once you clear the forest completely, the trail opens up onto a rocky trail that makes it’s way up to the hanging glacier. The views in this entire section, in every direction are amazing and just get better and better the closer you get to the Refugio.

It doesn’t look real, right? I was completely blown away at this point…
There was even a sneaky glacial lake off to the side of the Refugio on the way up. Make sure you take the time to wander around on your way up the rocky section so you don’t miss views like the one below. Just make sure you are being mindful of the trail and are keeping safe distances from the edges.

I was so in love with the views. It was such unusual and captivating views in every direction.
Once you reach the top, you make your way past the Refugio and over to the glacier. It was much larger than I had expected.
We spent a good hour or so wandering up and down the edge of it on the morning of our second day before heading back down. It was so long and wide, with swirling patterns and beautiful colours. The added bonus with Cerro Tronador is that often while you are hiking and while you are up next to the glacier you can hear giant rolling thunder as the glacier moves and cracks.
I was completely in awe of mother nature on this hike.

Snow, glacier, mountains, clouds and rolling fog. What more can you want?
The Refugio
Refugio Otto Meiling is perched up on the mountain, right next to the hanging glacier. It is small and quaint, with a warm and cozy atmosphere inside. There are a few options for an overnight stay once you get to the Refugio.

The clouds rolled in over the glacier and engulfed the Refugio. It was eerie and beautiful at the same time.
Accommodation Options
You can either stay in the Refugio or camp next to it. This was my first overnight hike so I really wanted to camp. What better place to camp than next to a glacier, right? The other option is to stay in the Refugio. For this option, you need to bring your own sleeping bag or you can also hire one when you get there. Sleeping mats are provided in the refugio.
You can also bring your own cooking gear and food, like I did, or pay for dinner at the Refugio. Make sure you tell them when you arrive if you would like dinner so they can include you in their meal preparations.
Refugio Cost Breakdown
- Camping – Free, or $200 ARS ($13 AUD) donation for use of toilets, water and seating area in the Refugio
- Refugio – $580 ARS ($37 AUD)
- Sleeping bag hire – $200 ARS ($13 AUD)
- Dinner – $300-500 ARS ($19 – $32 AUD)
- Beers – $100 ARS ($6 AUD)
Refugio Frey
Full loop, 7-8 hours, 22km total, Nahuel Huapi National Park, Bariloche
This is the hike where I had massive realisations about myself, my journey here on this trip, and my strength and independence as a solo traveler and person on this planet. If you haven’t already, head over to my separate post about Refugio Frey to see what I’m talking about.
Aside from that though, this is also one of my favourite hikes in Bariloche. The rugged terrain made for a fun day out bouldering with plenty of scampering down loose scree and looking off into the distance at the amazing vastness of these mountains.

Perfect weather, stunning mountains and gorgeous orange dirt.
There are quite a few different ways to complete this hike. The most common way is the “Normal Route” which takes you up and back on the same forest path to the Refugio Frey and laguna. If you would prefer to complete a loop and see some of the amazing mountain landscapes and rock formations that Cerro Catedral has to offer then you should follow these easy steps.
Getting There and Away
This hike is relatively close to town, at Cerro Catedral. You can catch a local bus, number 55 to the entrance to the ski resort where the hike starts.
This bus uses the SUBE card for payment, the same as all of the other local buses in Bariloche and Buenos Aires. Make sure to top it up when you first get to Bariloche.
This same bus will return you to town when you finish the hike. You can check the schedules online, or just go to the bus stop and wait. I note that this bus only leaves once per hour so it may be more time efficient to check the timetable.
The Route
Start at the ski resort at Cerro Catedral and purchase a ticket for the gondola and chair lift for $470 ARS ($30 AUD). This will take you up through the ski resort and to the beginning point of the full loop hike.
Once you exit the chair lift you will need to hike up and towards the right until you reach a steep, 1km uphill section. This will take you over a pass to the mountain ridge.
Once you have done this you need to follow the red dots on the boulders all the way along the ridge. This section involves a fair amount of bouldering, heights and gorgeous views. Ensure you are following the trail towards Refugio Frey and not to the other Refugio’s further into the mountains. Unless you are planning a multi-day hike!

Boulders, boulders and more boulders!
The next section includes the steepest downhill scree I have ever done in my life! It was exhilarating and scary all at the same time. Later in the hike when I looked back at the giant peaks and realised I had hiked down them, I felt so empowered and proud of myself.

Halfway down the loose, rocky, scree that had my heart racing and adrenalin pumping!
After this section you arrive at the first lagoon, and then walk through the beautiful open valley to the main lagoon at Refugio Frey. Have a break here for lunch and dip your toes in the cold water while you take in the surroundings.

The sky was so blue on this day that it almost didn’t look real. It was stunning!
After leaving Refugio Frey you will then be on the normal route, heading back towards the ski resort. This section will take you through the forest and along the river. It is very tranquil and fairy tale like along the way.
After a couple of hours it then opens up a little, providing views of the surrounding lakes as you wander across many walking bridges. You will eventually find yourself back where you started near the ski resort entrance.

They love their walking bridges in Argentina! So do I…
Cerro Campanario
1 hour return hike, Bariloche

It makes sense why Bariloche is part of the Seven Lakes Region…
This is a fairly easy and short walk up to a spectacular viewpoint that looks across the lakes surrounding Bariloche. It is also very close to the centre of Bariloche and is quite easy to get to. You need to catch one of the buses heading along Bustilo Avenue to kilometre 17.5.
Once there you can hike the short, but steep 30 minutes to the top or take the chair lift. I’ve heard the views are even better at sunset, with a lot less people around as well. So if time permits I would go up for sunset.
Visit Bariloche

The views are even better when you are taking it in with friends…
At the end of the day, what you really need to know is that Bariloche is an amazing town full of hiking, biking and lakeside options.
It is also the perfect gateway for Patagonia for both Argentina and Chile. There are also many more hiking options than what I’ve listed here so head on into Club Andino and have a look at all of the Refugio Hikes that are available. Enjoy every minute of this beautiful place!
Travel Insurance
No outdoor hiking guide would be complete without travel insurance. While you can take every precaution under the sun to ensure the safety and security of yourself and your belongings, you just never know what is going to happen. That is why I always make sure I have adequate travel insurance before I travel or hike anywhere. For my last three long term adventure trips, my preferred travel insurer has been World Nomads.
If you decide to use them for your next trip or hike and you would like to support this blog, then please make your purchase through the below quote link and I will receive a small commission at no extra cost to you. As always, make sure you read their product disclosure statement and check that it is suitable for your needs before proceeding.
What to Pack
My last piece of advice with regards to hiking in Bariloche is what you should pack for any of these treks. If you are only doing a day hike then you really only need snacks, water, and layers for potential weather you may encounter. On an average day hike I usually take the following items;
- 18L Osprey Ultralight Stuff Pack
 or Osprey 20L Tempest day pack
 - Fujifilm X-T2 Camera, a wide angle lens and a general purpose / portrait lens, and accessories
- CamelBak water reservoir / Nalgene water bottle
- Snacks (muesli bars, dried fruit and nut, Clif bars and / or fresh fruit or snacks depending on the length of the hike)
- Water/windproof jacket if the weather turns — this jacket from Arc’teryx is excellent quality, or or a jacket from The North Face
- XT Ultralight Packable Down Jacket or Arc’teryx fleece in case it will be cold at the summit or if completing a sunrise hike
- Headlamp in case you lose light
- Phone for emergencies and maps.me
- First Aid Kit
- Personal Locator Beacon (PLB) — depending on how remote your hike will be, although I always carry one regardless
If you are hoping to tackle one of the multi-day treks around the area then you will need a lot more gear, specifically designed for overnight hiking. I highly recommend heading over and checking out my post about what to pack for multi-day hikes. That hiking guide provides you with a detailed packing list for clothing, shelter, food and cooking, as well as safety and emergency gear for any multi-day trek. There is a downloadable checklist as well to use the next time you are packing.
Recommended Reads
For anyone wanting to check out more of the incredible hiking, landscapes and views of Patagonia then I would suggest reading my posts on some of my other favourite spots and hikes throughout the entire Patagonia region:
- The Best Hikes in El Chaltén, in Argentina
- The 4 Day Trek to Cerro Castillo, on the Carretera Austral in Chile
- Hiking and Camping in Pumálin Park, on the Carretera Austral in Chile
- Adventure Activities and Hiking on the Carretera Austral, Chile
- The Ultimate Guide to Torres Del Paine and The O Circuit, Chile
Save it for Later
If you are headed to Patagonia soon then why not save this guide about the best hikes in Bariloche for later on Pinterest? You can share it to Facebook with friends and family as well. If you have been to Bariloche and know of an incredible hike not included here, then please leave it in the comments section below so I can add it to my list for next time. Let me know if you have any questions!
- Girl Seeking Purpose