Have you been considering starting your own blog? Do you feel like you have something to say or share and you believe a blog would be the perfect platform? Maybe you also want to start a blog as a way to become location independent and earn money online?
I started this blog almost two years ago as a creative outlet for my writing and photography. It has now turned into something much more than that and I am so glad I took that leap of faith back in the day.
I remember when I first looked into entering the blogging world that it was all very overwhelming and I had no idea where to start. When setting up your blog there are a few vital steps you need to take to ensure you are on the right track. During this step by step guide, I will show you how to purchase and setup your web hosting, purchase your domain name and install WordPress. Then you can hit the ground running and start creating content.
This post contains affiliate links, which means that if you follow a link for a product or service and make a purchase, I receive a small payment at no extra cost to you. I only recommend products or services that I have used, trust and would honestly recommend to my readers. Building affiliate links into my site will help keep my blog going and continue to allow me to produce the content that I hope you are all enjoying reading.
1. Choose Your Domain Hosting
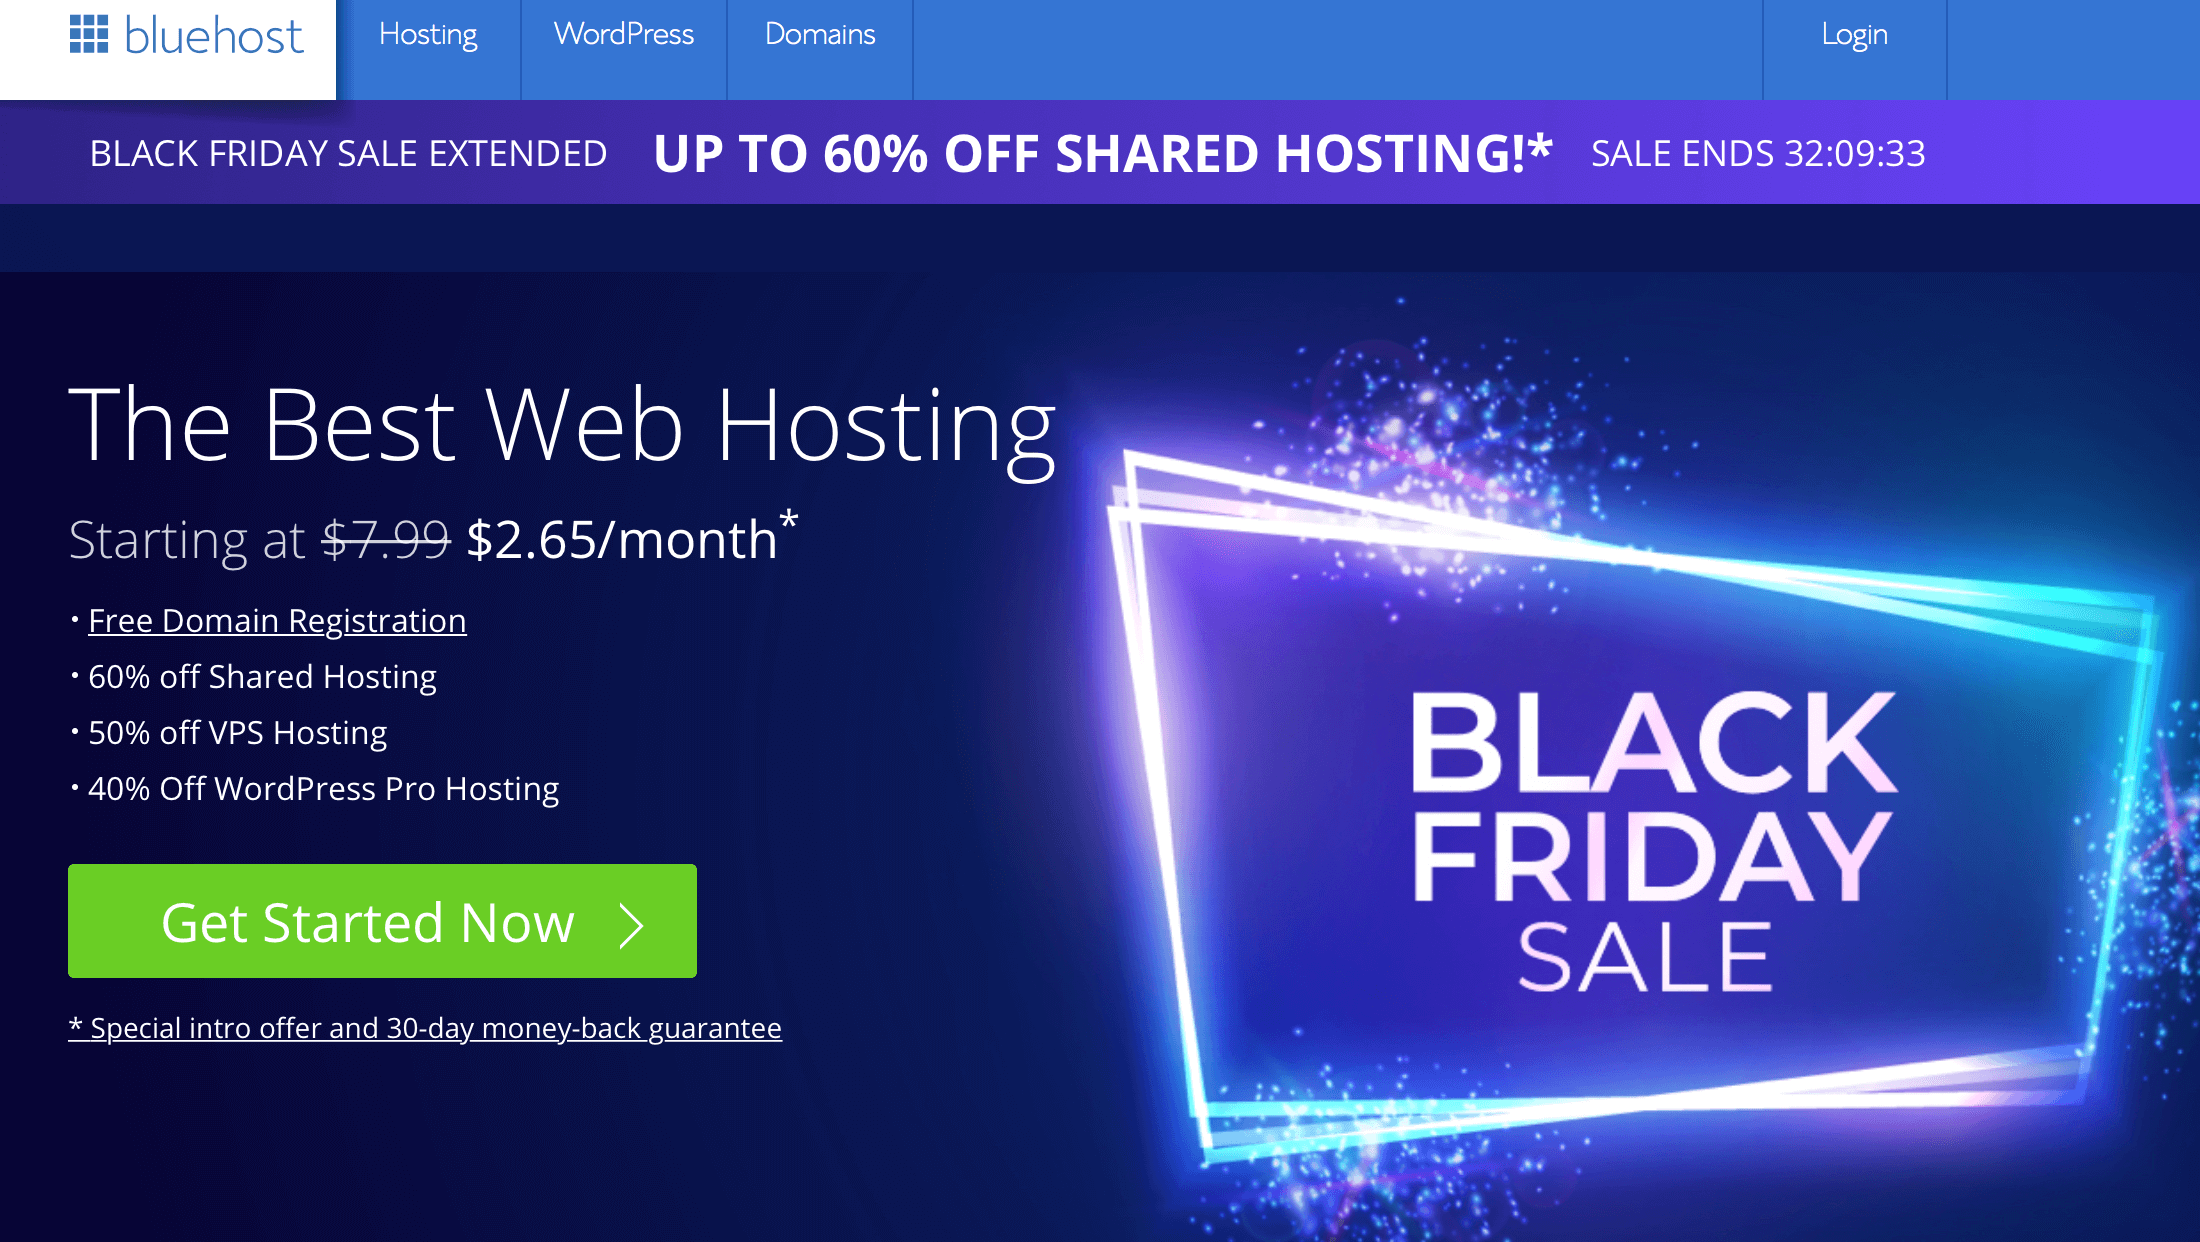
Head over to the Bluehost Website to start the process of setting up your blog.
They frequently have good sales on, and their monthly hosting fee is usually pretty low to begin with.
2. Choose A Website Name
This is one of the most important steps when starting a blog. I found the Nomadic Matt’s Superstar Blogging Course extremely helpful in working out my niche and message — and have found that course extremely helpful in general! From there I was able to determine an appropriate blog name.
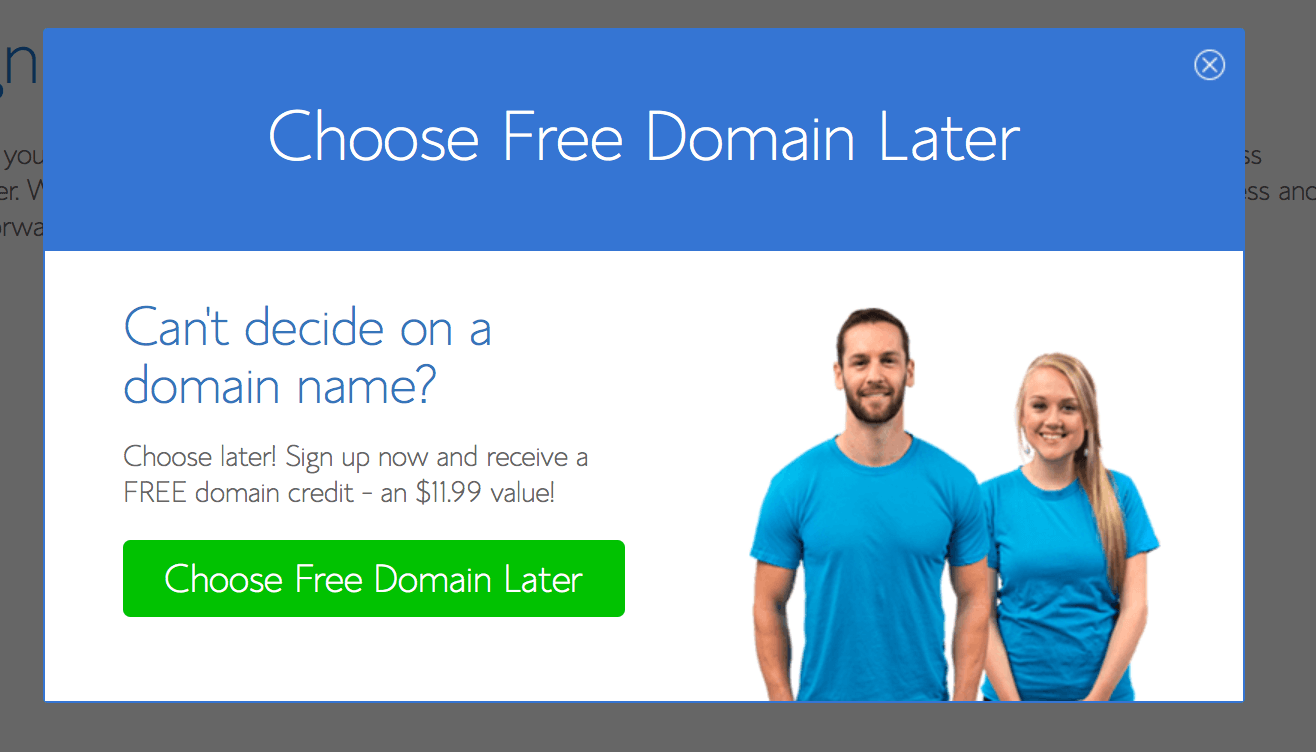
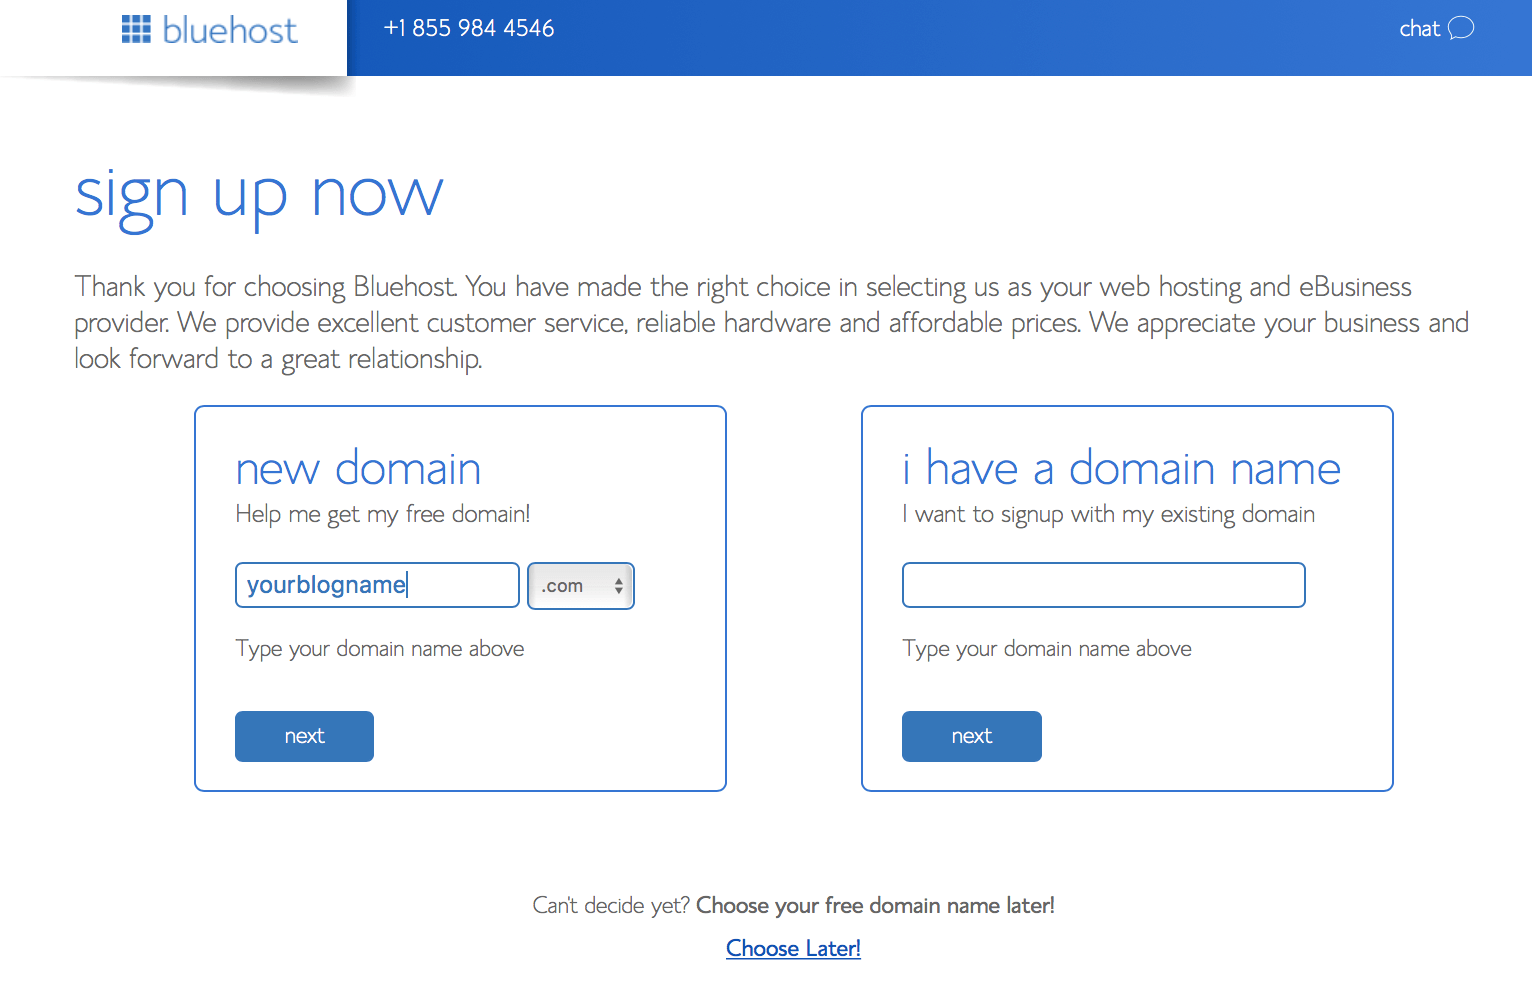 If you haven’t had a chance to drill down to exactly what your blog will be about and you need a little more time in deciding your domain name, then you can always opt to choose later. Better to not rush this step, but if you wanted to get the ball rolling now you still can.
3. Enter Your Account Details
This step is fairly straight forward. Just enter in all of your account / personal details and move to the next step.
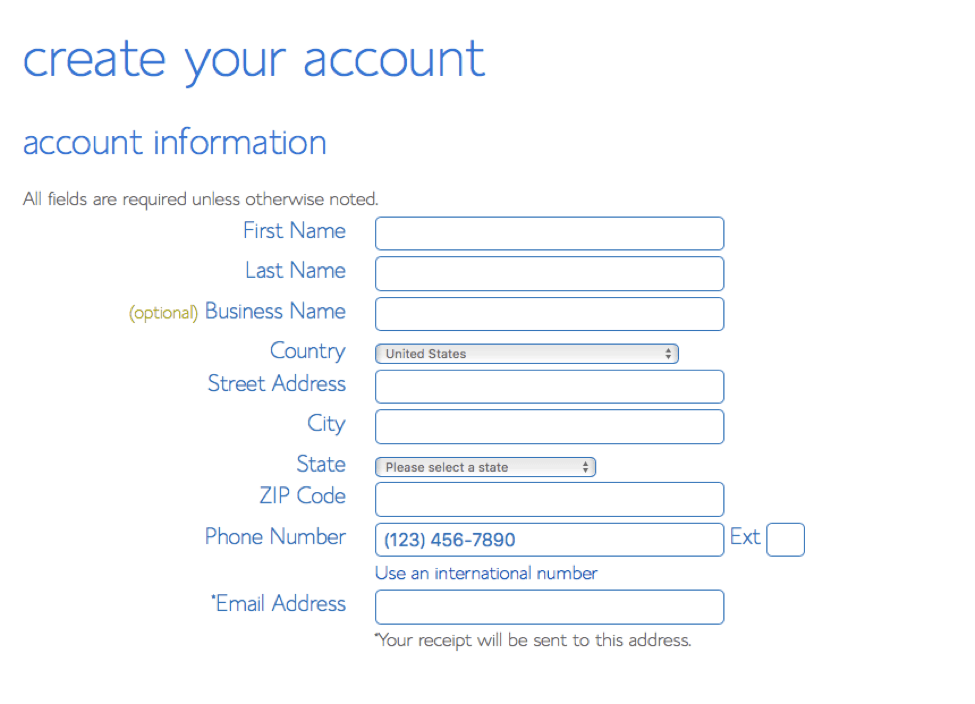
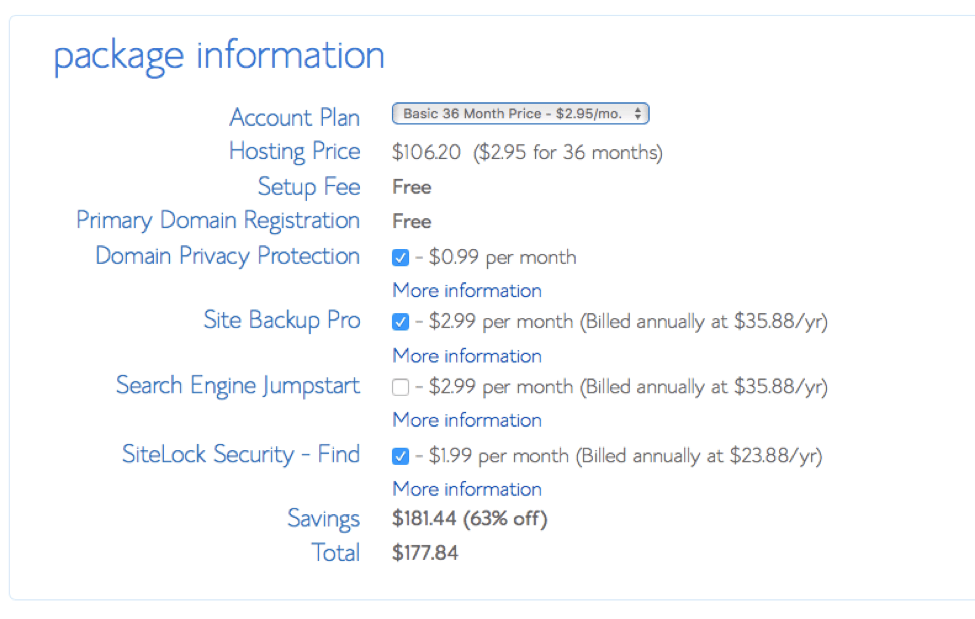
Now enter in the package information on the next section. I opted to only add on the Domain Privacy Protection when I setup my hosting. It protects your personal information from being visible or accessible. If you don’t want any of the other add ons, make sure you uncheck them before you proceed.
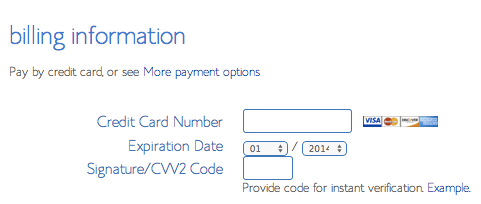
4. Enter Your Billing Information
This is the fun part, actually paying for the hosting.
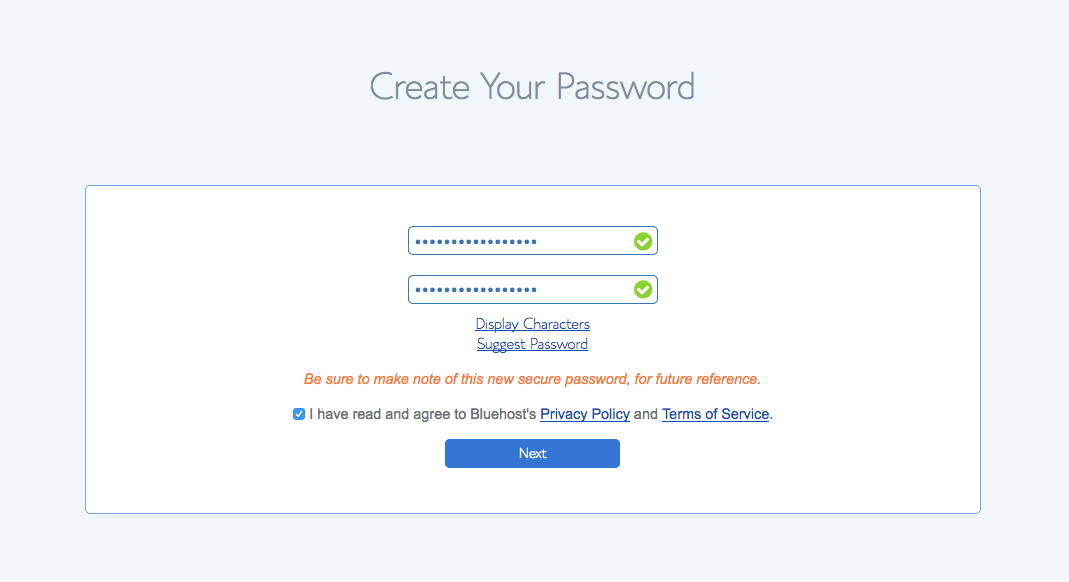
5. Password Setup
Nominate a password for your account as per the below steps.

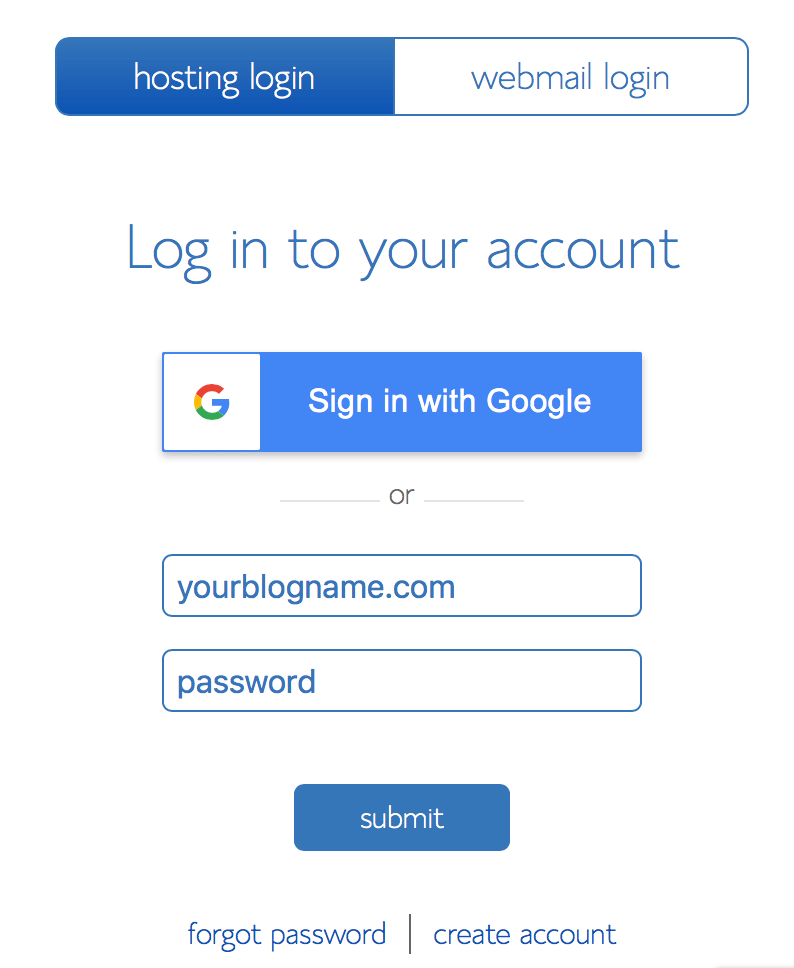
6. Login to Your Account
Now login to your new Bluehost account before we move onto the next step.
7. Install WordPress
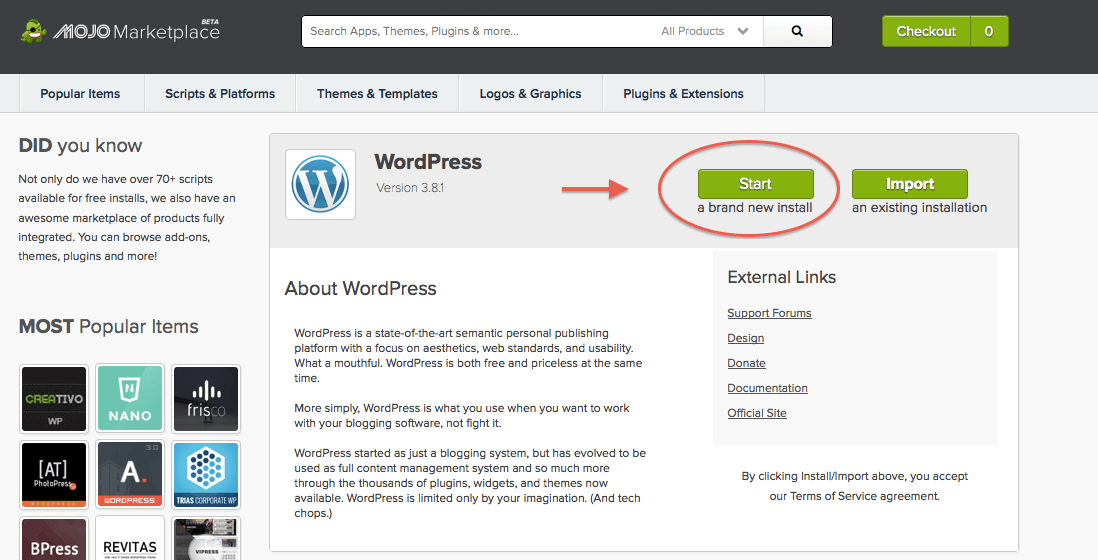
The next step is to install WordPress. You can navigate to the below section via the Bluehost interface.

Click on Hosting and then cPanel, and then on WordPress.
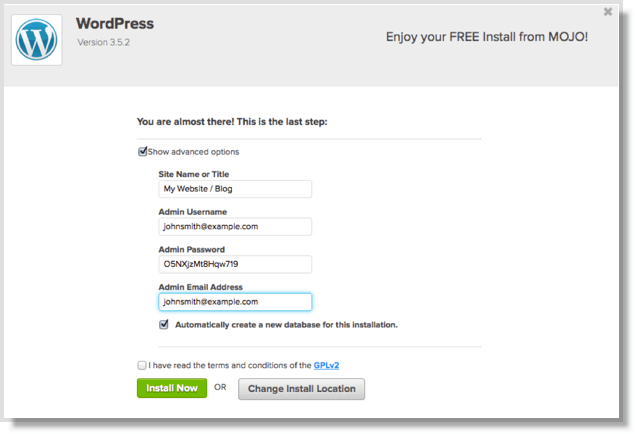
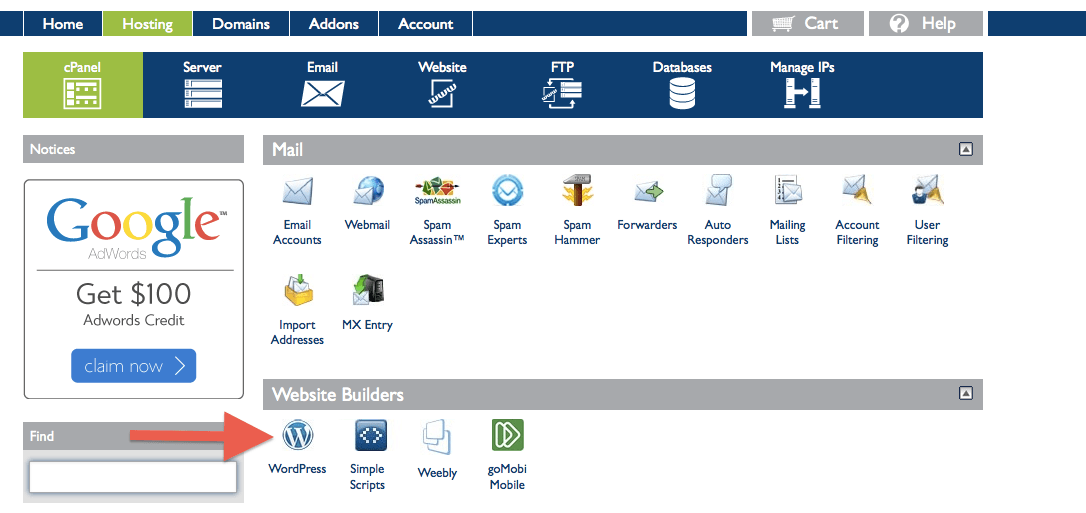 From here you click Start to begin a brand new install.
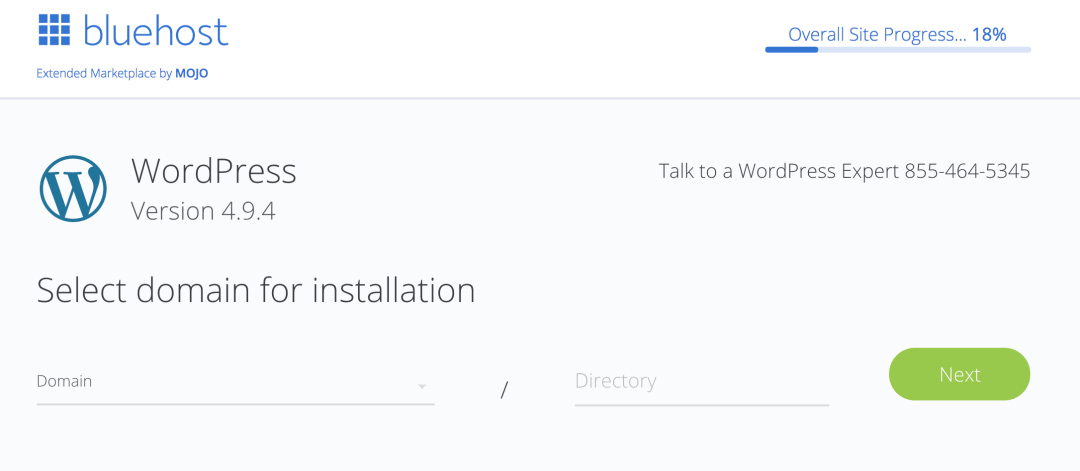
You need to select your domain name that you just purchased and then you complete the final screen before the installation is complete.
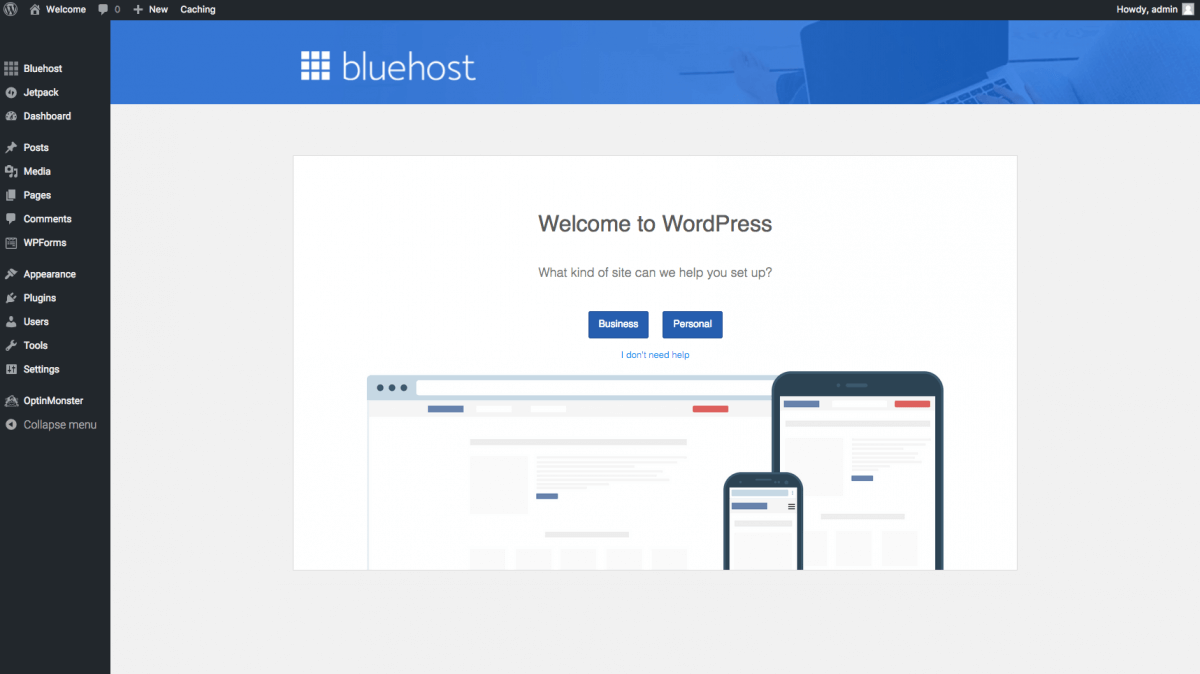
 You should then be greeted by your new WordPress interface and can begin blogging.
8. Running Your Blog
From here on out there are a variety of other steps you need to take to begin blogging like a pro. You will need to install a theme, start customising your site and of course begin writing and creating content.
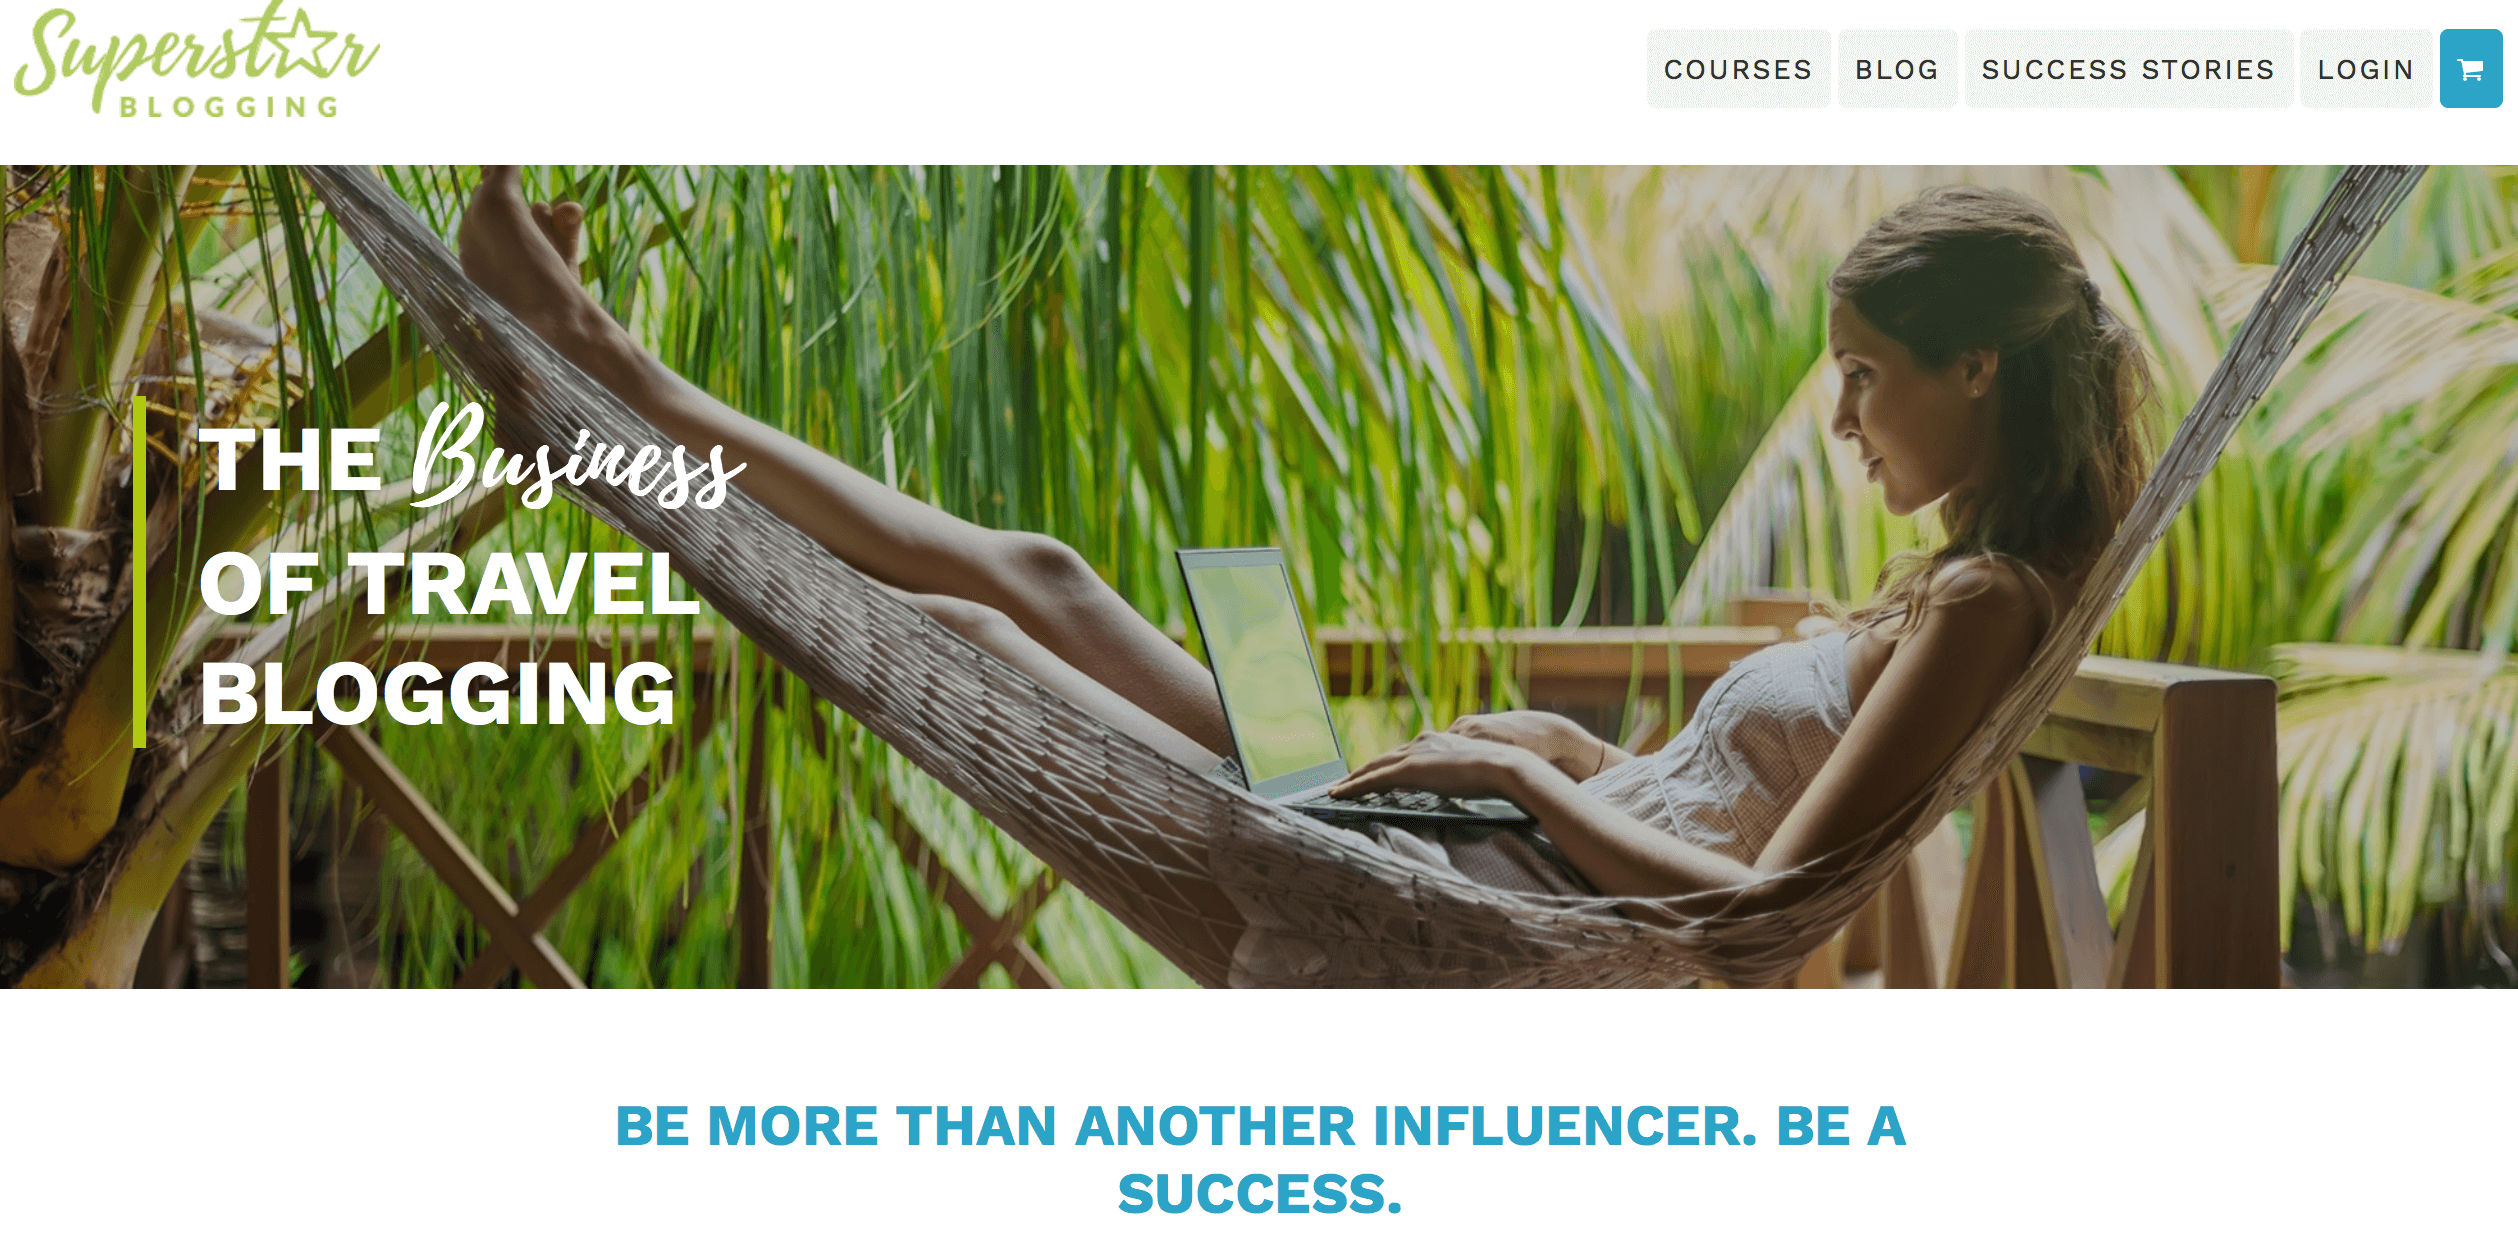
If you are hoping to start a blog for the purpose of making an income or want to at least have that option at some point down the track then I would highly recommend purchasing Nomadic Matt’s Superstar Blogging Course, The Business of Travel Blogging. He frequently has sales on, but even if the course is full price I still believe it is worth the cost. It is extremely in depth, has an extensive amount of support by both his staff members and through the Facebook group you become a member of, and is constantly updated to ensure the course is accurate and relevant.
I spent a lot of time trying to work everything out for myself, and it wasn’t until I purchased Nomadic Matt’s course that my blog really started to get some traction. It has now started to take on the shape of a more professional and well run business and not just a hobby for me and it was honestly such an incredible investment. The groups, community support and also professional ongoing support available through the course have been vital to my success so far.
If you decide to go ahead with the hosting and courses I’ve suggested and feel like supporting this blog then don’t forget to use any of the links in the post and my blog will receive an affiliate payment at no extra cost to you.
Thanks again for your constant ongoing support in reading what I write. I hope this post helps others find their creative outlets as blogging has done for me! xx
--Girl Seeking Purpose
